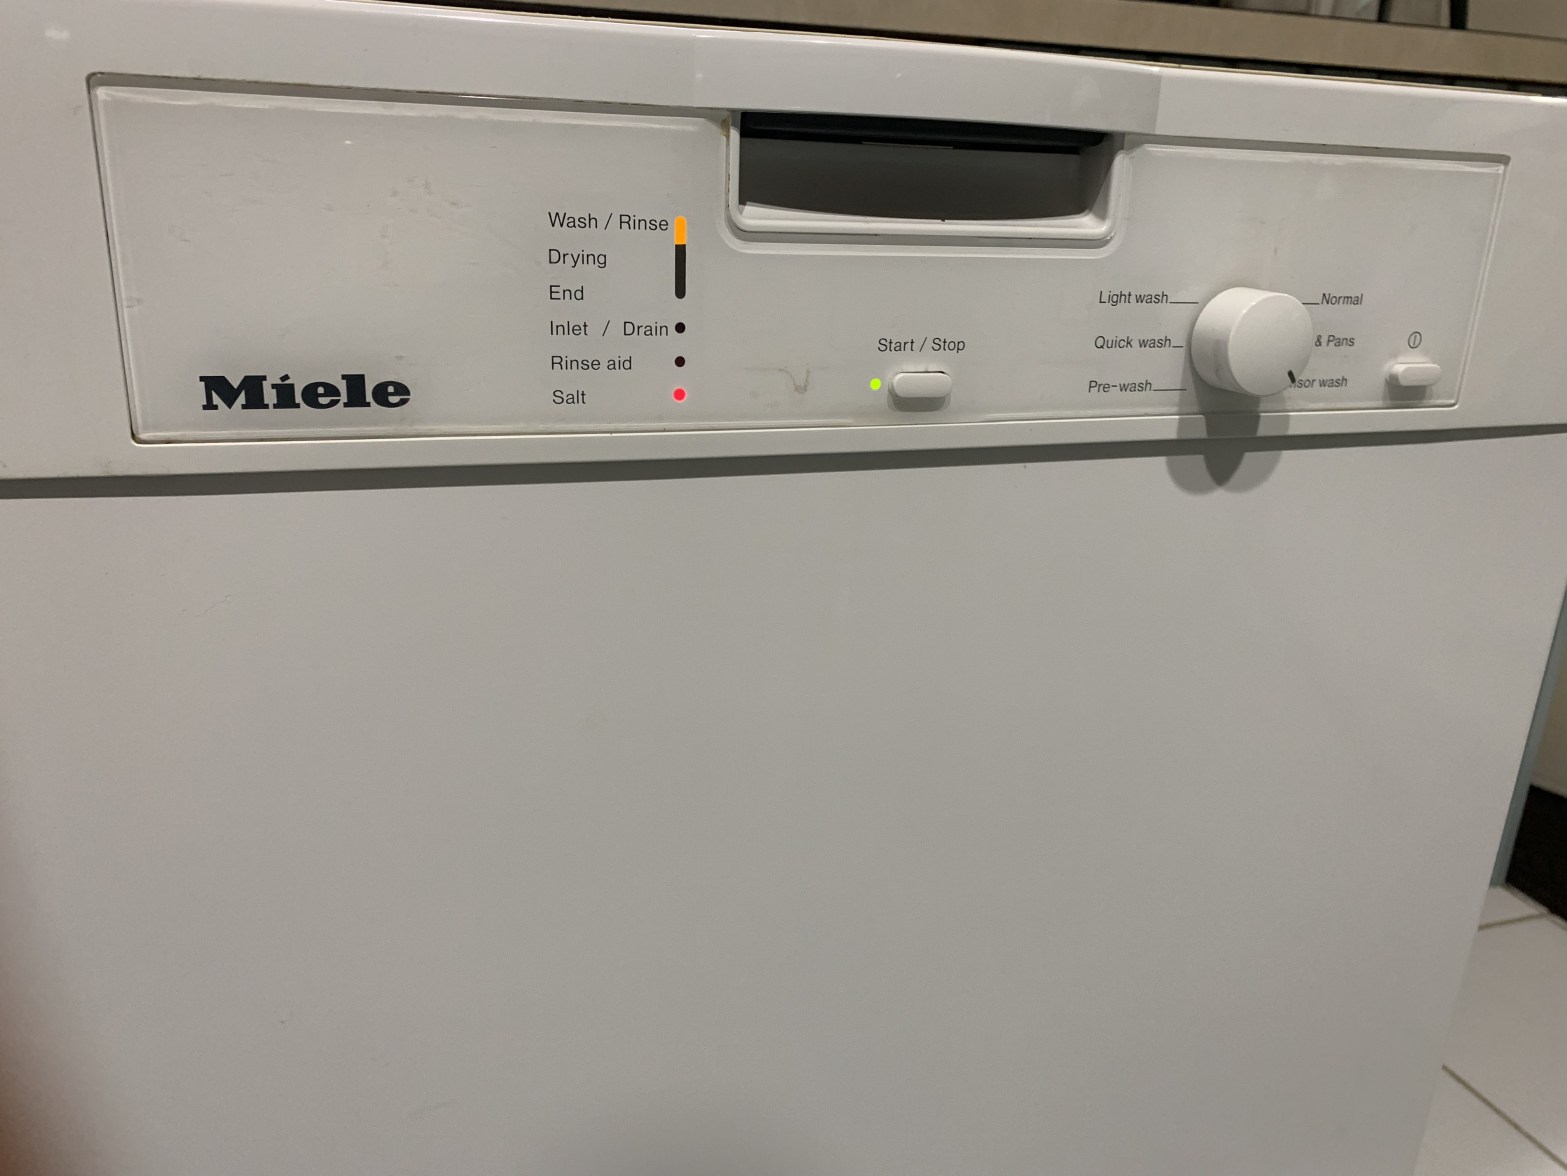
We usually run the dishwasher overnight, one morning the inlet/drain red light was on and the wash had not started. First of all why just have on light for both the drain and for the inlet ? Sure they have water in common but that’s about it!
Diagnosis
I started looking at the drain by removing the metal mesh at the bottom of the dishwasher and removing the plastic drain valve housing that holds a steel ball. In the past I’ve had to dislodge bits of food that had been stuck and blocked the outlet. However, this time the valve was clear.
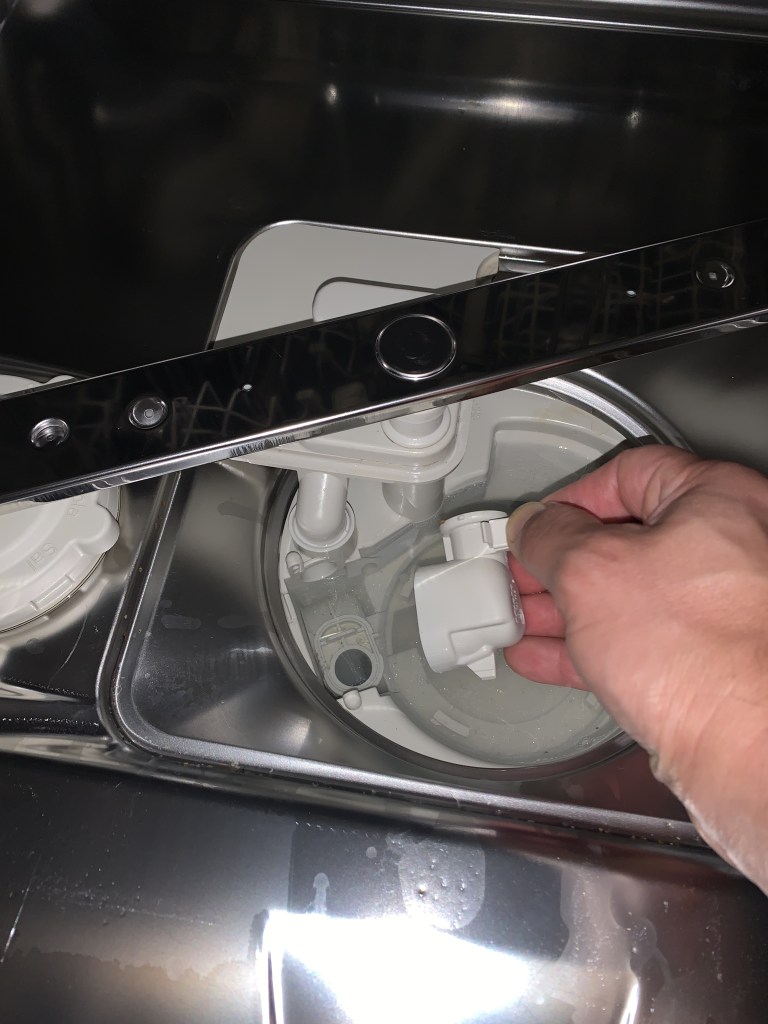
It looked like it was an “Inlet” problem not a “Drain” problem! After checking obvious things like the inlet tap, I tried to do a test run. I could hear the clunk of the tap mounted inlet valve and also the shuuu of water flowing but only for a few minutes before the inlet drain light would go on. Time to figure out how the water flows inside the machine. Looking underneath and inside the machine I saw that the hose was connected to the bottom of the left side of the machine.
I don’t have pictures of the steps I took to dismantle the dishwasher, but it’s pretty straight forward. Inside the left hand side panel you’ll find a plastic maze (pictured) for the water inlet. Disconnect the power cord first. Remove the top panel that is retained with two screws visible inside the top of the machine at the front. Then a couple more screws at the front of the left panel and one at the bottom of the back. Finally using a flat blade squeeze the plastic tab that holds the top rear corner of the side panel.

Water Flow Detection
In the image above you’ll notice two orange wires. These go to the front panel and connect to a reed (magnetic) switch board 6161603. When the inlet valve is opened, water flows through the channels inside the plastic maze and through a vane located behind the reed switch board. The vane has a magnet that causes the reed switch to open and close with each rotation. The front panel controller counts the pulses generated by the switch opening and close in order to determine the volume of water that has flowed. If it thinks there isn’t enough water after having tried a few times, it gives up and turns the inlet/drain light on.
Repair 6161603
6161603 is the part number for the reed switch board. It’s a simple board with a connector and a 14mm long reed switch. Testing the resistance of the switch whilst placing a magnet near its glass body revealed that the switch was no longer functional. After some searching, my choices were:
- $90 for the whole “Board Flowmeter” from online appliance parts stores.
- $30 for a used one from eBay
- $3 for just the reed switch from Jaycar. I couldn’t wait so bought it in store.

I checked the orientation of the old reed switch and put the new one in the same position. Under a magnifying glass you can see the contacts in the reed switch. I had somehow cracked the glass in the old switch before taking this picture.

Reinstall the sensor board in the plastic maze. Time for a test wash with the side panel off. I could see the water flowing and the first run ran to completion. Put all the panels back on and dishwasher back in place.
So far so good, the machine has been working for over two months!
